


Once you order a web hosting service, you can start creating your own website. Using our Softaculous Apps Installer, you can install WordPress and its database in a few clicks. It’s a quick and easy way to set up a website without having to learn a single line of code.
You can start promoting your blog/ website and begin building something spectacular in a jiffy.
why should I use WordPress for my website
WordPress is the most popular content management system (CMS) on the Internet, used by many bloggers and website designers for creating their blogs & websites. It’s a platform that allows anyone regardless of skill level to build amazing websites without knowing how to program in HTML or PHP.
From the themes (templates) you choose to the installation of plugins, it’s an easy process if you want a website up and running within few minutes.
Below are the step-by-step guidelines covering the process:
Step 1: Log into your cPanel.
When you have a AfeesHost hosting account, you’ll have access to cPanel. This is a versatile administrative dashboard that gives you control over many aspects of your website.
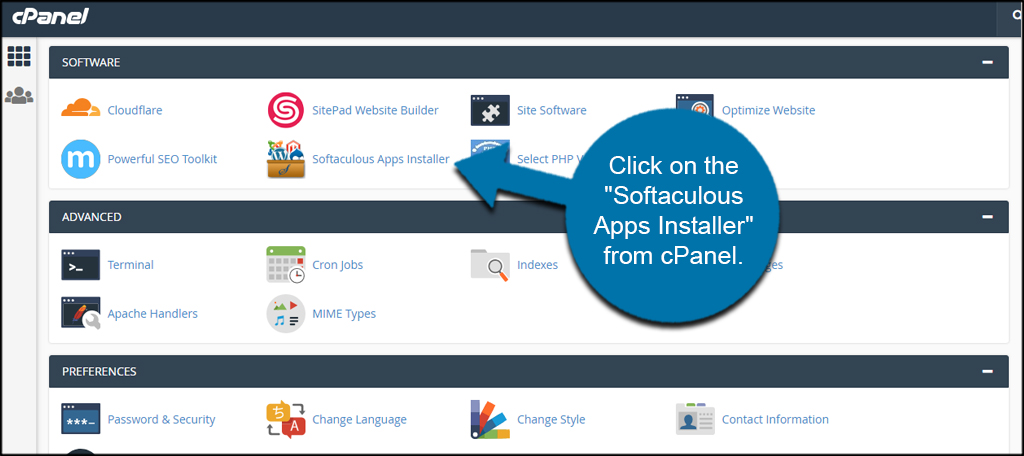
Step 2: Navigate to Software section > Softaculous Apps Installer icon:
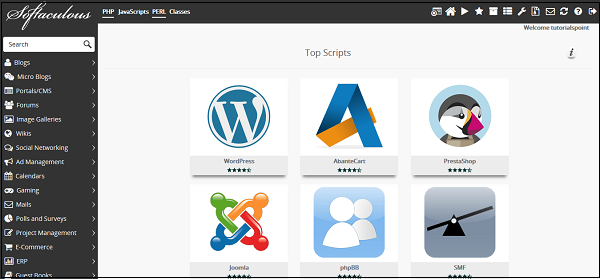
Step 3: Open the Softaculous App Installer
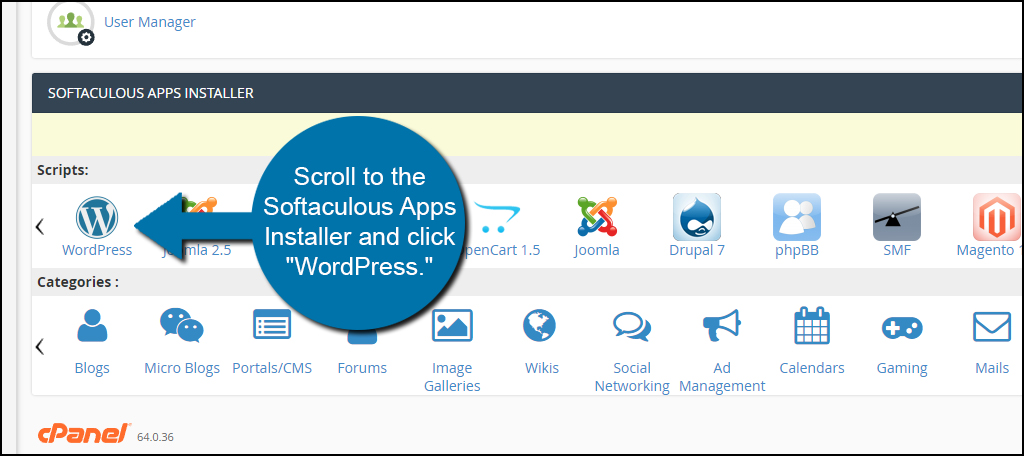
Or just scroll to the Softaculous Apps Installer from the cPanel and click “WordPress.”
Step 2: Install WordPress
Click the “Install Now” button in the description from the Softaculous script window, The Softaculous software will usually have the most recent version of WordPress available.

You will need to fill out the details of your WordPress installation on the next page.
- Choose the domain you wish to install WordPress on
- In the In Directory field, you can specify the root folder for WordPress installation. By default, this field is empty, and it allows installing WordPress on yourdomain.com directly. If you wish to install it to a subfolder, like yourdomain.com/blog, simply type "blog" in this field.
- Database Name can be left default.
- Table Prefix can also be left default wp_; however, due to security reasons, it is better to change it, e.g., to nt7te_ .
- The Site Settings section should be filled out according to your needs, though you can change it anytime later if required.
Make sure you set up secure and hard-to guess details in the Admin Account section:
NOTE: At the bottom of the screen, below the “Install” button, you can assign an email address to send installation details. It may be helpful to have a record of the process. However, this is completely optional.
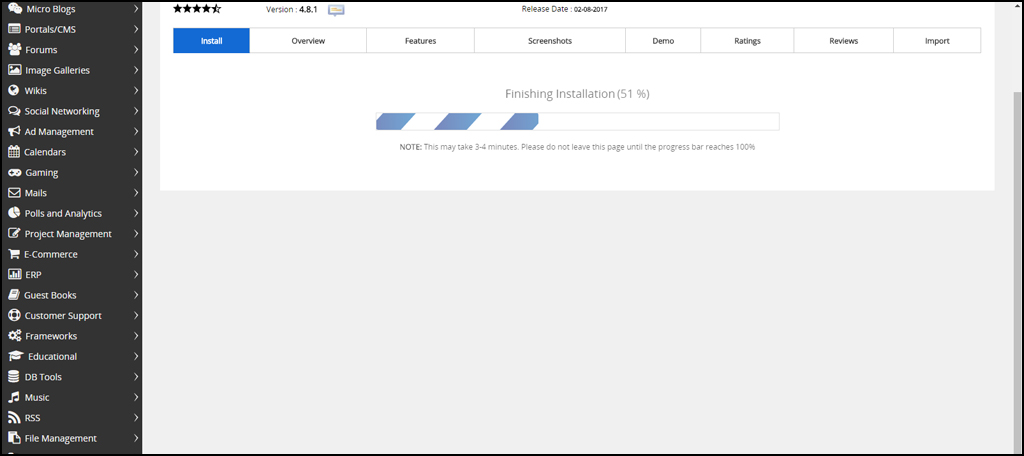
Once you’re done fine-tuning WordPress, click the “Install” button on the bottom middle of the screen.

Softaculous will then analyze your information and settings while installing the WordPress CMS onto your website.
After the installation is complete, Softaculous will give you a couple of links. One is the URL (yourdomain.com) of your new website while the other is the admin address (e.g. yourdomain.com/wp-admin/). Click the link next to the “Administrative URL” to visit the login screen and access your site.

You can now go ahead and log into your WordPress Dashboard to start working on your website. Remember to bookmark this URL so you can find it easier at a later date.
